Drywall Contractor
Why Hire Drywall Contractors near me?
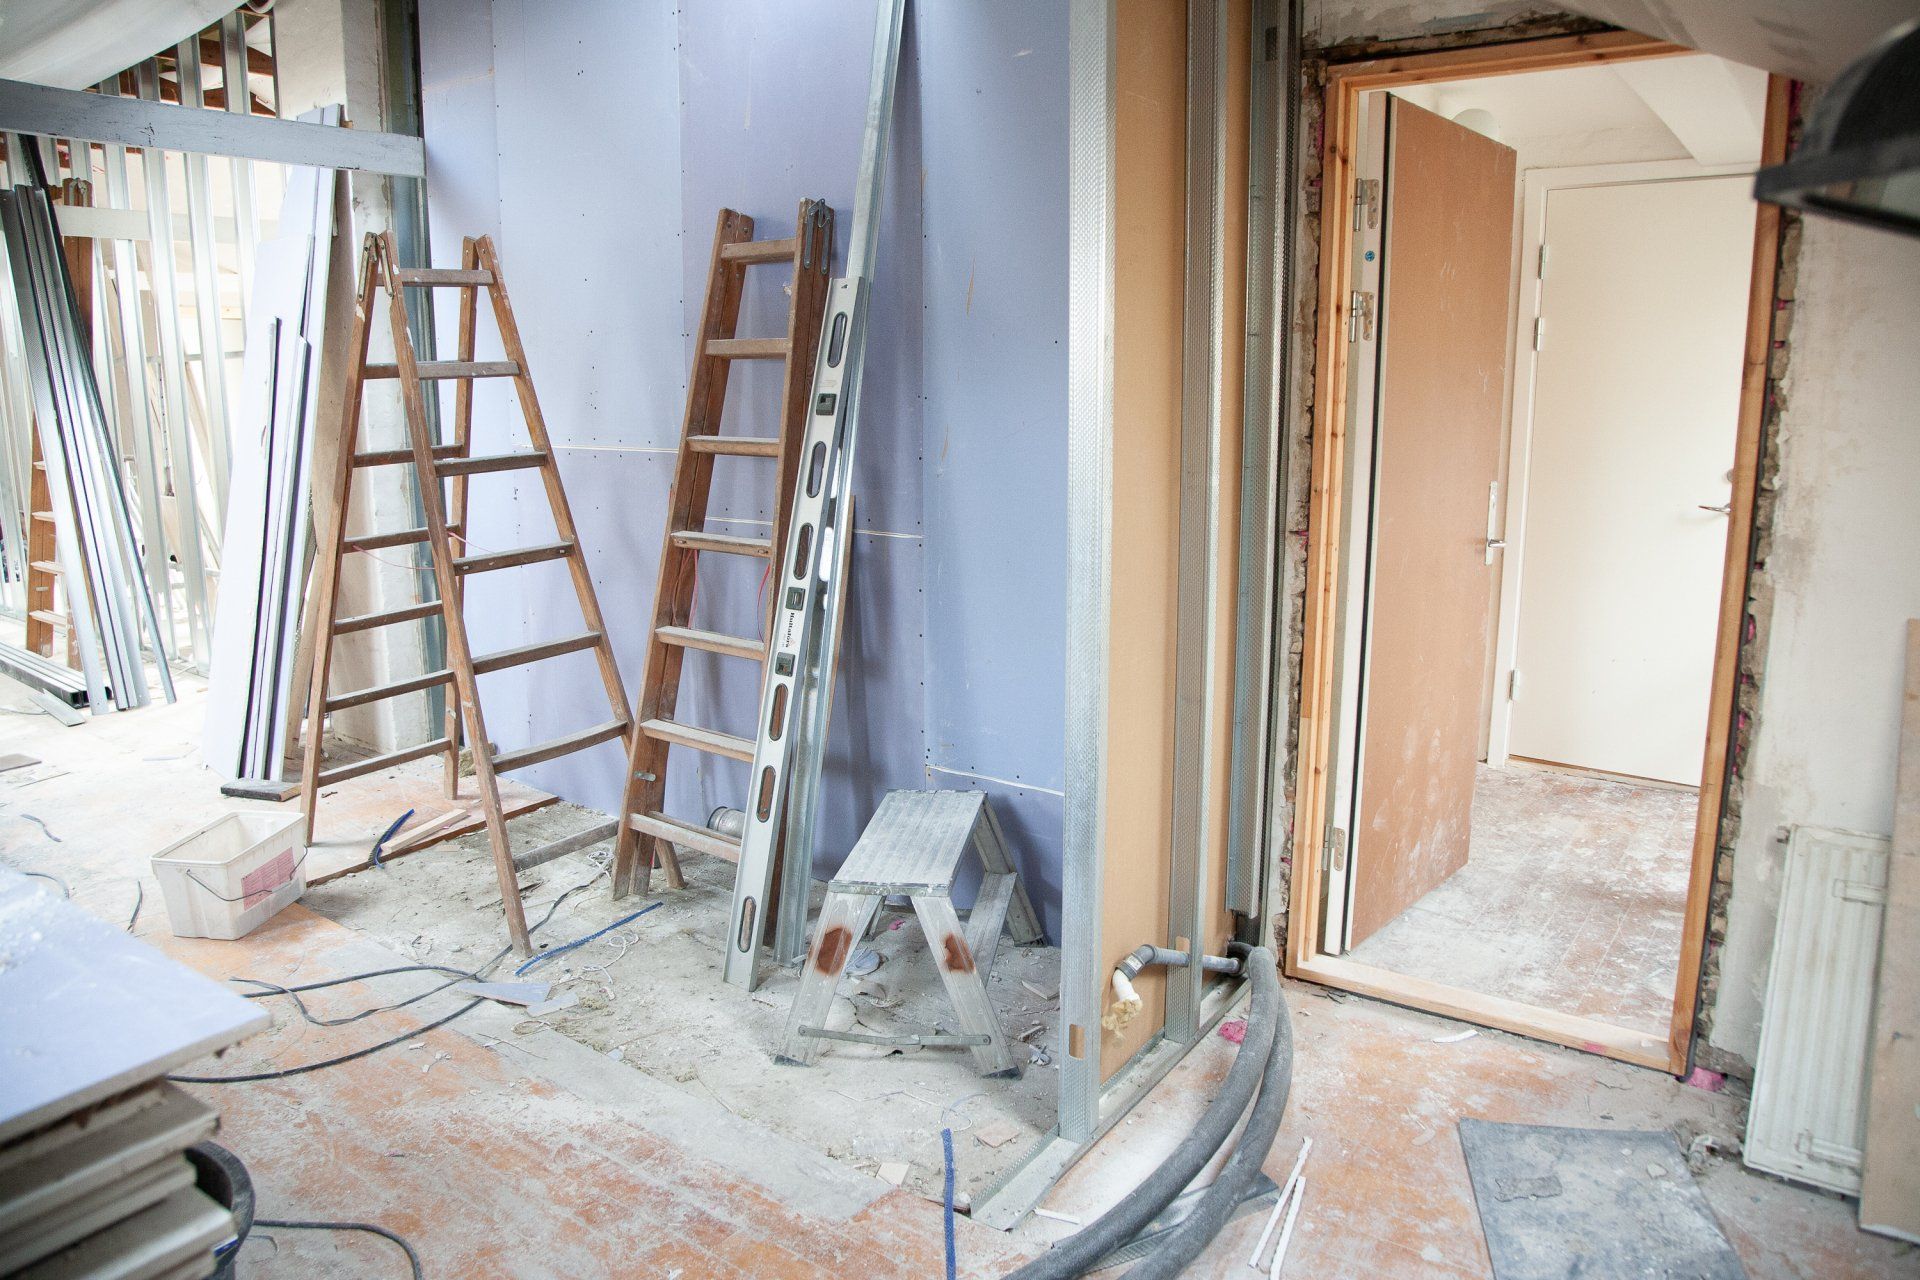
You Do Not Have The Right Tools for the Job
It makes more economic sense to hire a local contractor than to buy tools for a one time DIY project. Some of the tools that you will be required to purchase include:
Jab Saw
A jab saw is like a modified version of a serrated knife. It is suitable for cutting holes.
Electric Drywall Saw
Electric saws make it easy for the installer to cut through a drywall sheet. It speeds up the process and creates a clean cut.
Sanding Sponges
For this kind of work, you will need to have both an abrasive and non-abrasive sponge. An abrasive sponge is used for removing excess mud on the wall, while a non-abrasive sponge is used for wet sanding.
Cordless Drill
This machine is used to screw drywall screws in the plasterboard. A cordless drill is better in the sense that it has better operational advantages than a corded drill.
Drywall Screws
Forget what they tell you on tv; nails should never be used when fixing plasterboards! Though nails have better shear strength, screws hold better in wood and gypsum and provide better tensile strength.
Request a quote
Deluxe Drywall - Contact us form
You Support the Local Economy
When you contract local drywall companies, you boost the local economy because they will buy goods and services from the local shops. This not only reduces the crime rate but also increases the economic growth of Surrey BC.
DIY is Not as Easy As You Think
Trust us when we tell you that drywalling is not a task for the faint-hearted. It involves lifting heavy objects, cutting and installing textured ceilings. There are more than three types of textures and five finishing styles that you need to know about before you decide to install drywall.
Also, unlike what you see on YouTube, you need to know the type of board to install and where. We have witnessed instances where people use regular boards in moisture-prone areas such as the bathroom and kitchen. DIY saves them money in the short term but increases the maintenance costs in the long term.


Drywall Finishing Services
Once you have installed the right wallboard, it is finished to give a perfect look depending on the intended purpose. There are five main types of drywall finishing that you need to be aware of:
Level 0
Level 0 is the most basic type of finishing you can find in the market. A level 0 finishing is best where a temporary structure has been set up. Examples of a temporary design include a semi-finished basement.
Level 1
Level 1 finishing is suitable for use in areas that are not easily accessible by the general public. An example of these areas includes a backroom hallway and a storage room. A level one finishing involves a single coat of joint compound embedded on a joint tape and seams. However, keep in mind that this finish level does not require excess joint compound and tool marks to be removed.
Level 2 Finishing
A level 2 finishing can be described as an improved version of level 1 finishing. All interior angles and joints have tape embedded in a joint compound that has been evenly spread to create a thin coating. Two joint compound coats can be applied at this level. All accessories and fasteners should also be covered with at least one coat of joint compound with the excess been removed. Areas suitable for level 2 finishing include:
- Garages
- Warehouses
Level 3 finishing
A level 3 finishing is distinguished by the levels of coats applied on interior angles and over joints. All internal angles and joints should have at least one joint compound coat, while accessories and fasteners require at least two coats of joint compound. Also, keep in mind that the wall's surface should have no visible ridges and tool marks. This finishing level is not suitable for use in areas that will have lightweight wall coverings and basic light textures.
Level 4 Finish
In a level four finishing, interior angles have one separate coat of joint compound while three different coats of joint compound are applied on accessories and fasteners. The surface of a level 4 finishing should be free of visible ridges and tool marks. This type of finishing is suitable where wall coverings will be used. However, keep in mind that we do not recommend the use of unbacked vinyl wallcoverings.
Level 5 Finish
This is the last level of finish and among the best in the market. At this level, there are three separate coats of joint compound applied over accessories and fastener heads. Two different coats of joint compound should be applied on all flat joints. In the end, there should be no visible tool marks or ridges. This level minimizes the possibility of fasteners showing.